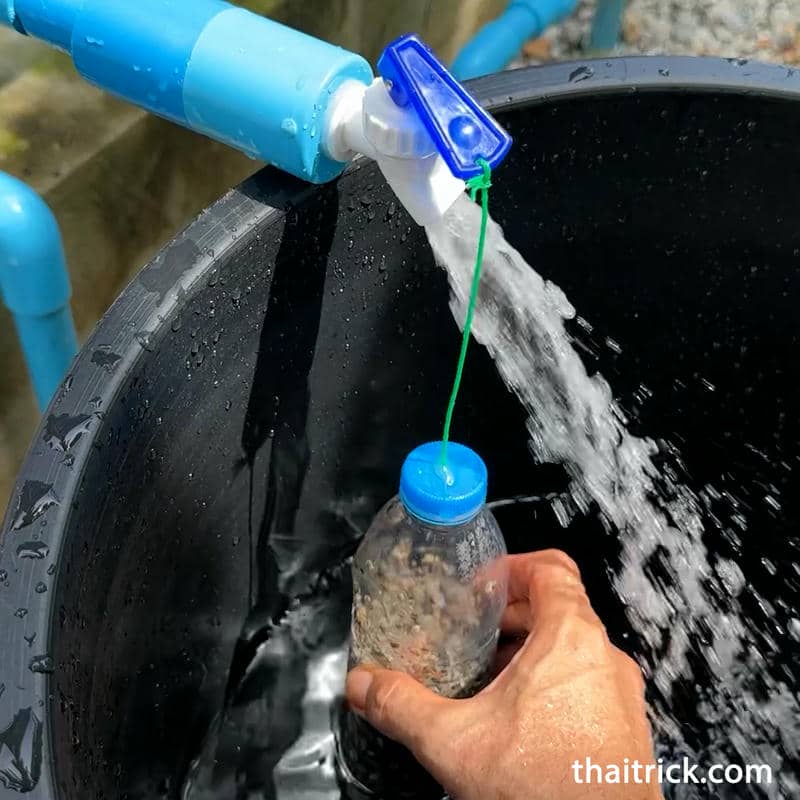
Hi there, friends! With the changing weather, don’t forget to take care of your health. Today, I’ve got an exciting DIY project to share—a homemade water valve using a plastic bottle. It’s a great way to repurpose items around your home while creating something functional and sustainable. Let’s dive in!
Materials You’ll Need
- Plastic bottle with cap
- Gravel or sand for weight
- Hot glue gun
- Plastic water faucet (tap)
- Rope or strong string
- Tools: drill, knife, or scissors
Step-by-Step Instructions
1. Preparing the Bottle
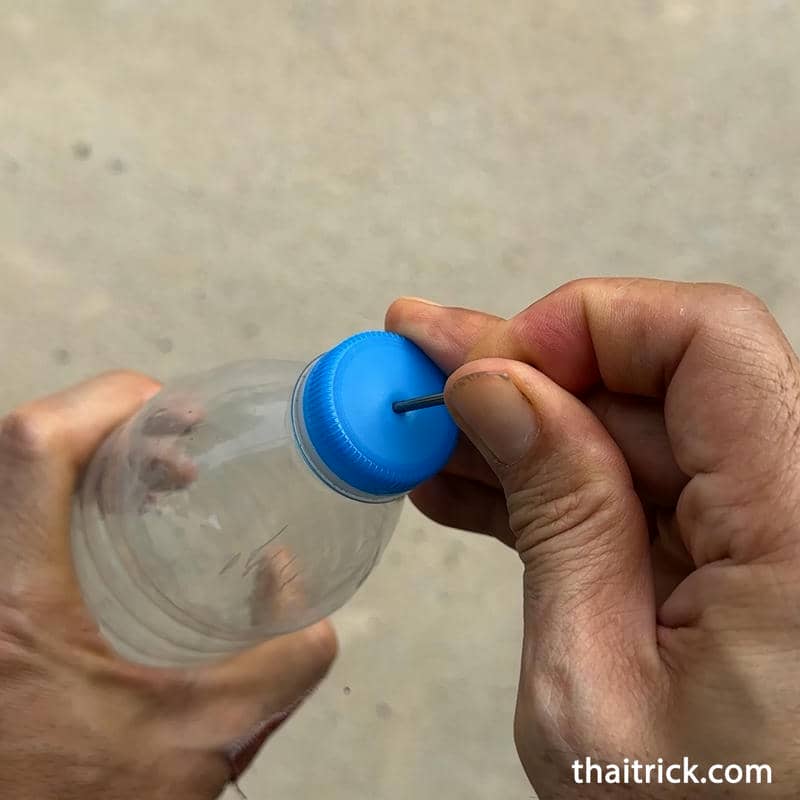
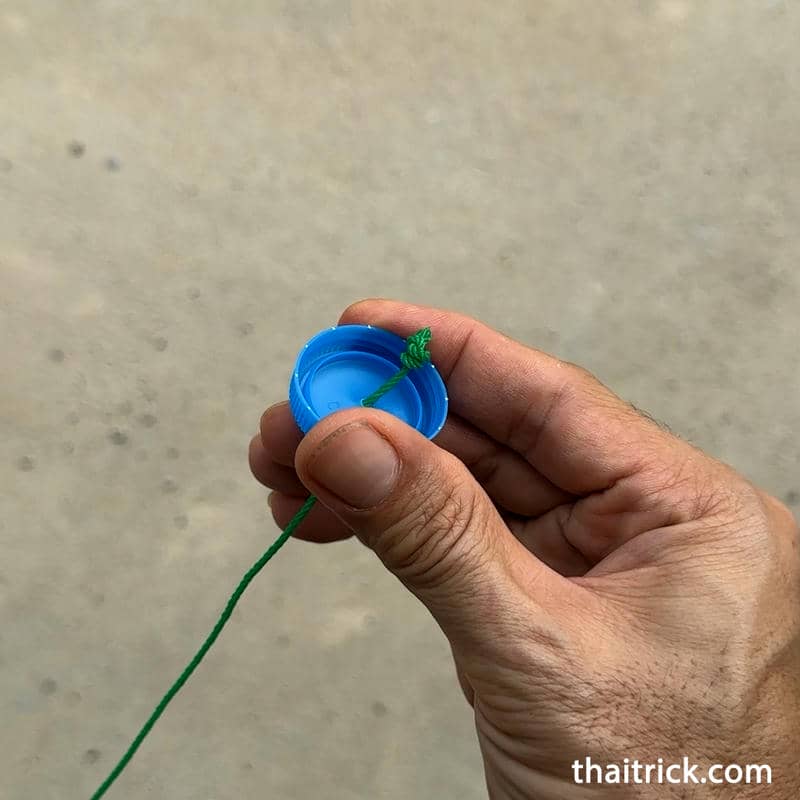
- Start by removing the cap from the plastic bottle. Drill a small hole in the center of the cap to thread the rope through.
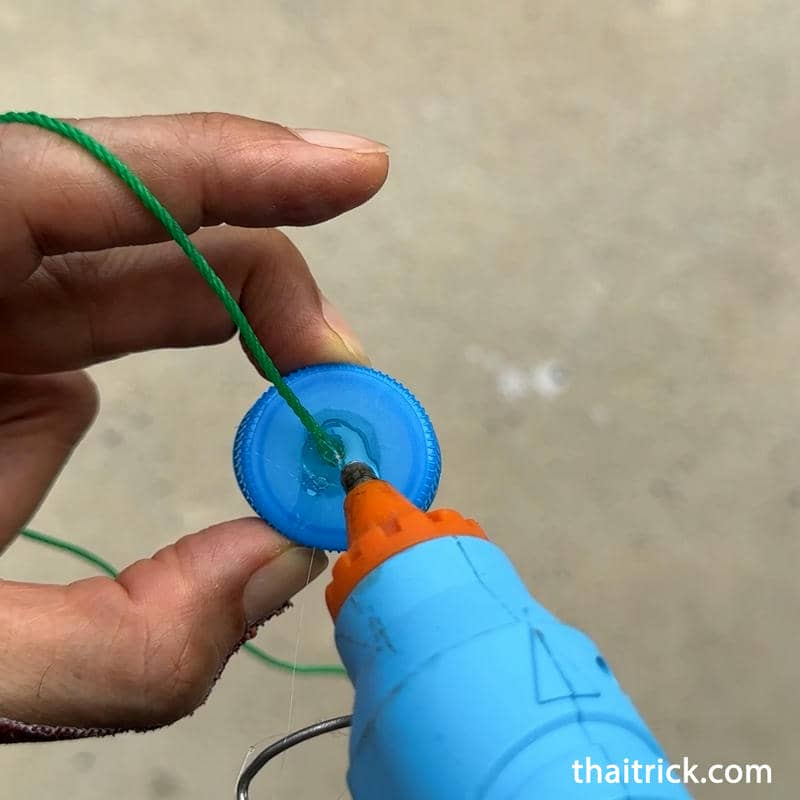
- Secure the hole with hot glue to prevent water leakage.
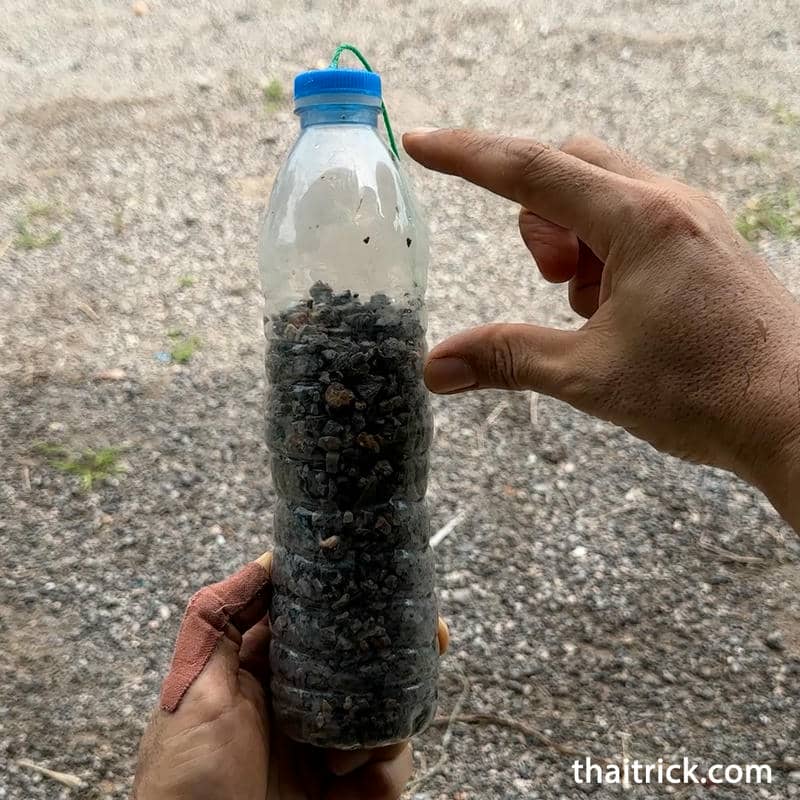
2. Adding Weight to the Bottle
- Fill the bottle with gravel or sand to add weight. This helps the valve function properly.
- Leave some air space at the top of the bottle to ensure buoyancy. Adjust the amount of weight later during installation.
3. Modifying the Faucet
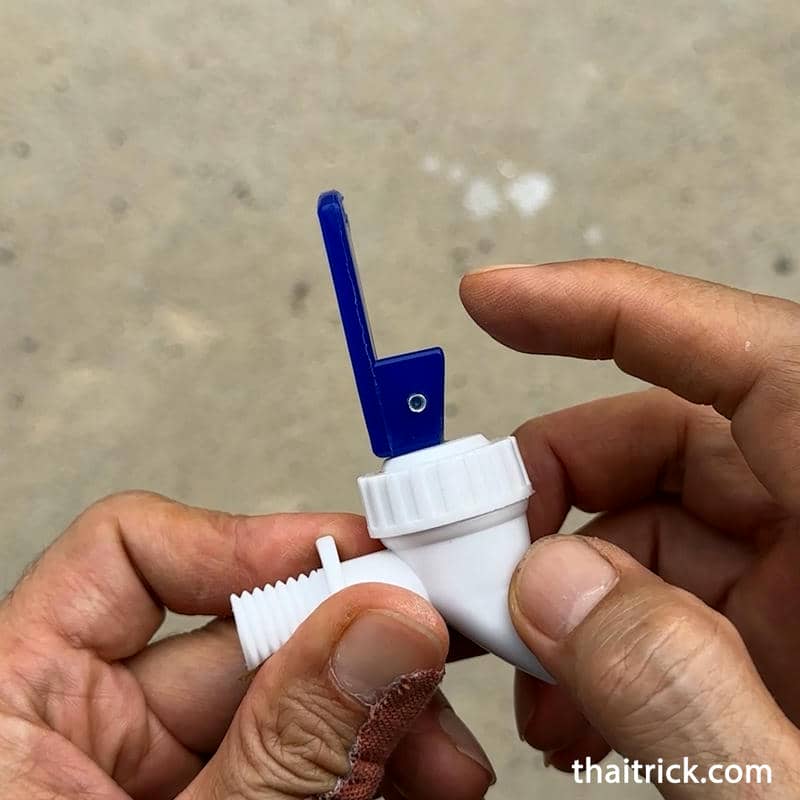
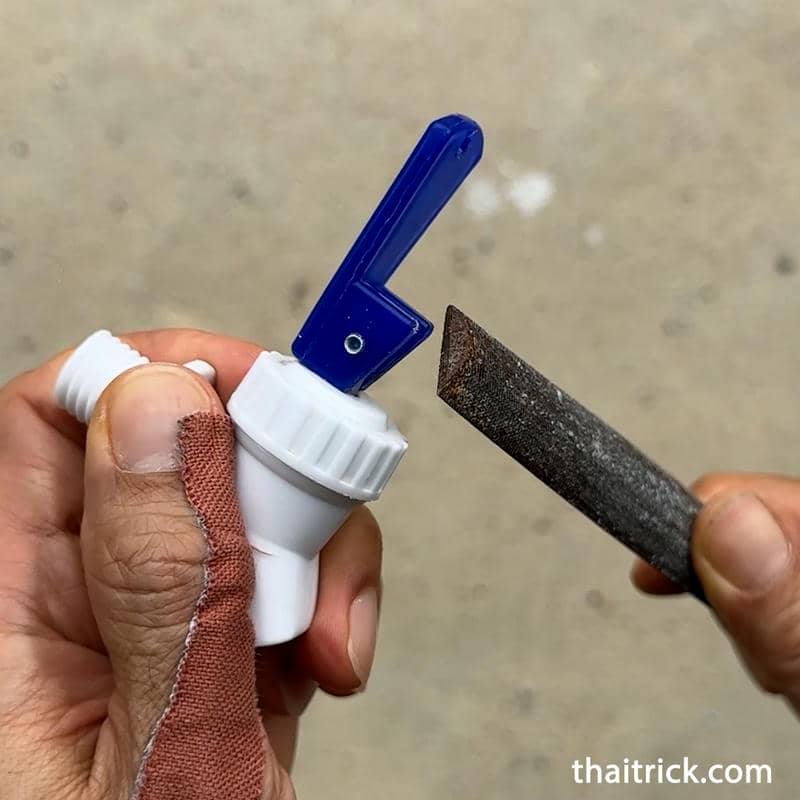
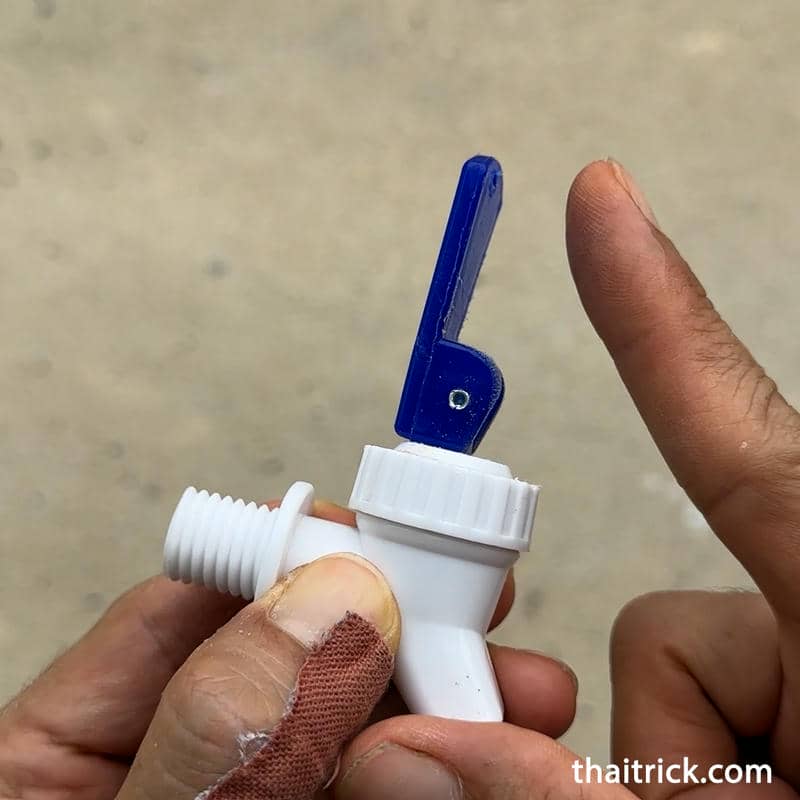
- Use a file or knife to smooth and curve the bottom edge of the faucet handle. This adjustment allows the handle to spring back and close automatically after being opened.
- Test the mechanism by pressing the handle to ensure it snaps back into place.
4. Connecting the Rope
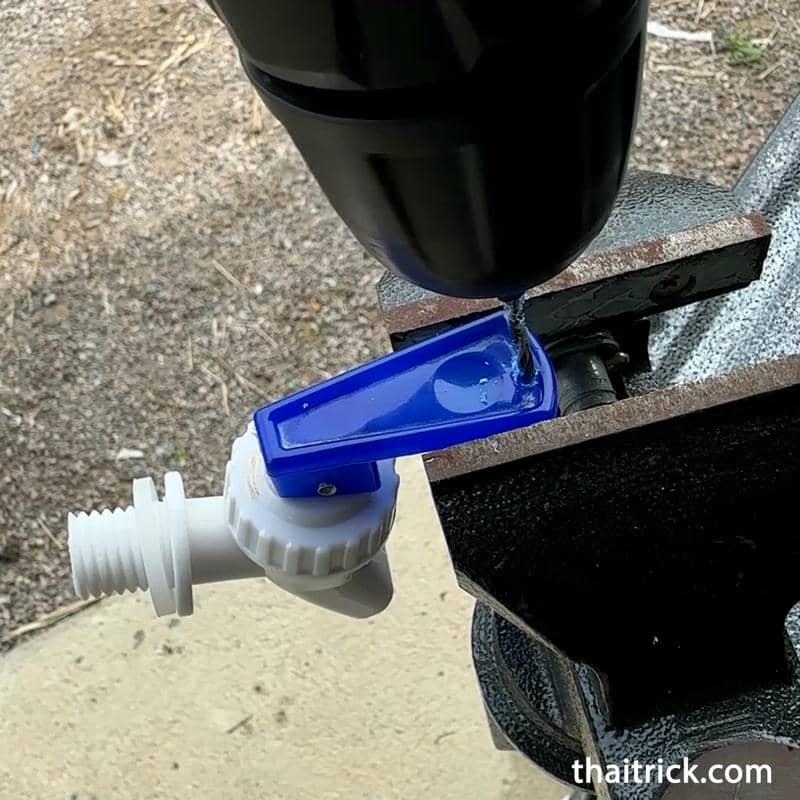
- Drill a hole at the end of the faucet handle and thread the rope through it.
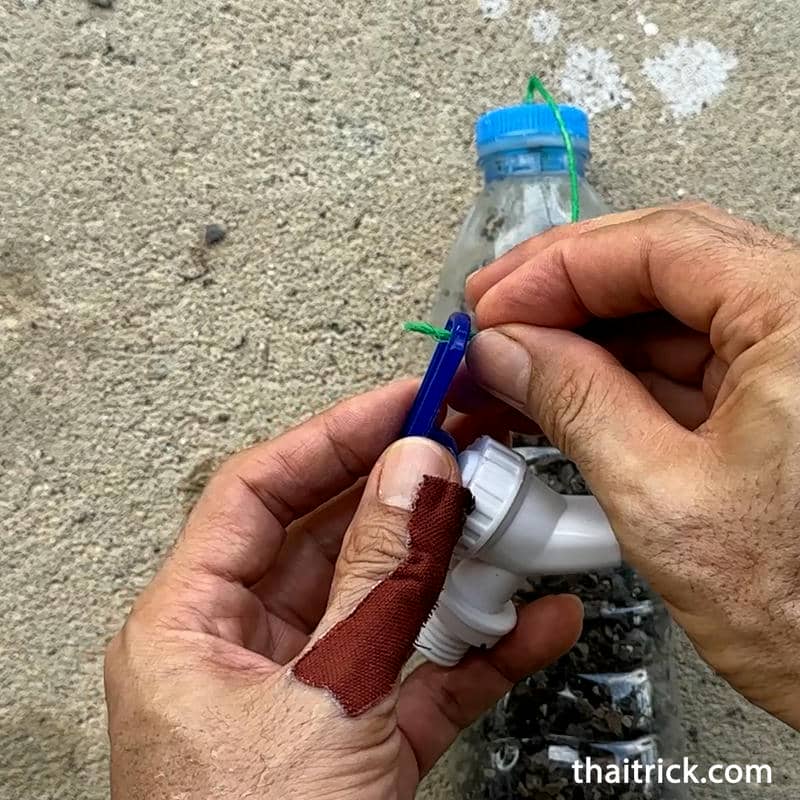
- Tie the rope securely, ensuring it’s firmly connected to the bottle.
- The length of the rope will depend on the size of your water tank, so you may need to adjust it during installation.
5. Testing the System
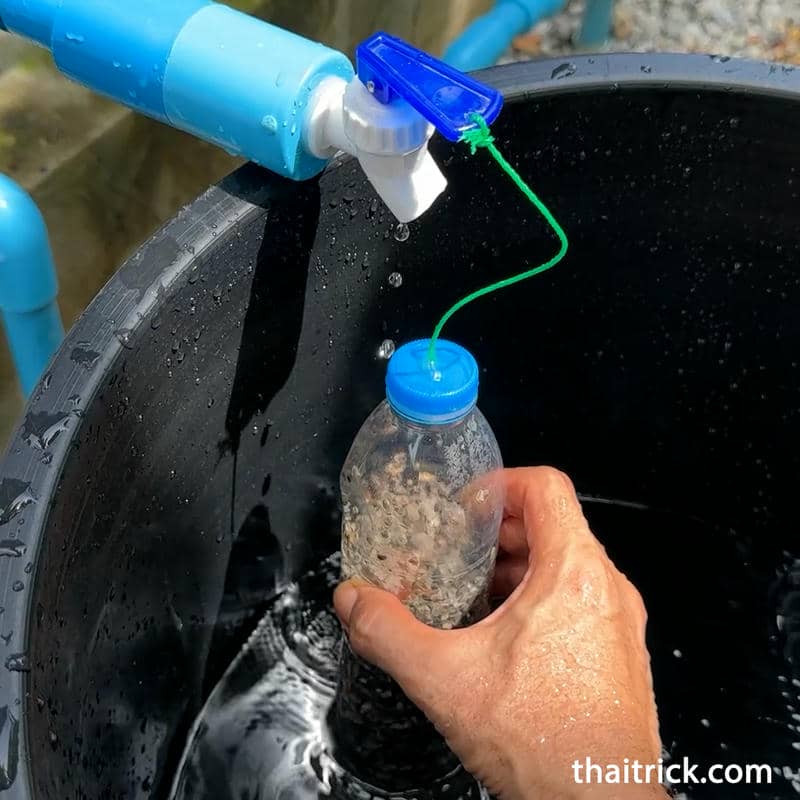
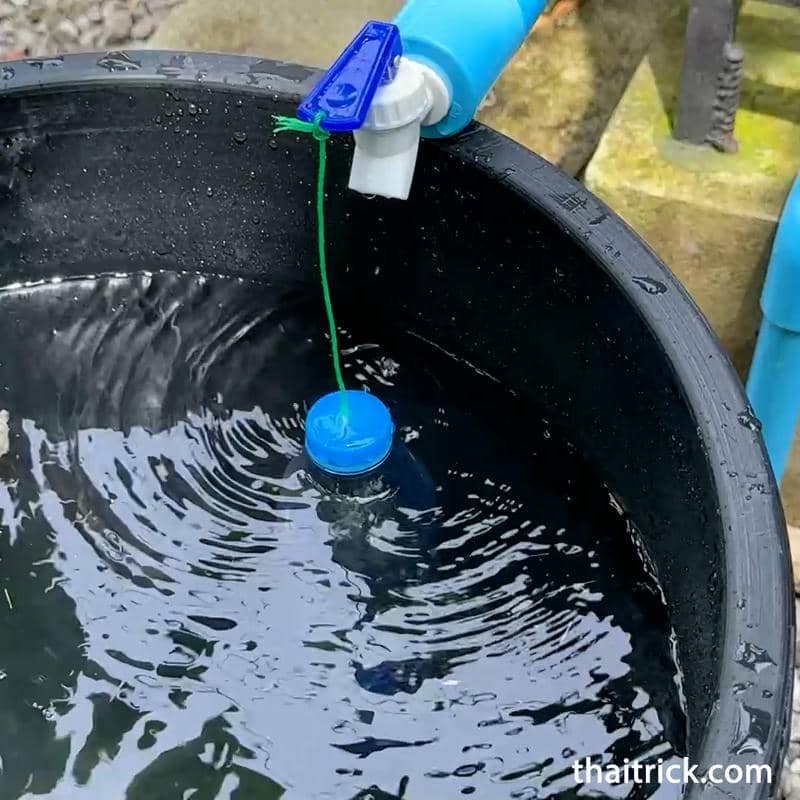
- Install the valve system into your water tank. Adjust the rope length and bottle weight to ensure the valve closes when the water reaches the desired level.
- Test by filling the tank. When the water level rises, the bottle will float, pulling the handle to close the faucet. When the water level drops, the handle will release, allowing water to flow again.
Why Use a DIY Water Valve?
This project is not just budget-friendly but also eco-friendly. Instead of buying a commercial float valve, you can upcycle materials already available at home. It’s a fantastic way to save money and reduce waste while learning something new.
Watch our videos here.
Tips for Success
- Use gravel if sand isn’t available—it works just as well!
- Ensure all holes are sealed tightly with hot glue to avoid leaks.
- Experiment with the rope length and weight distribution for optimal performance.
Creating a DIY water valve from a plastic bottle is an enjoyable project that combines creativity and functionality. Why not give it a try? Let me know how it works out for you! For more creative ideas, check out Thaitrick, your go-to site for ingenious DIY solutions.

